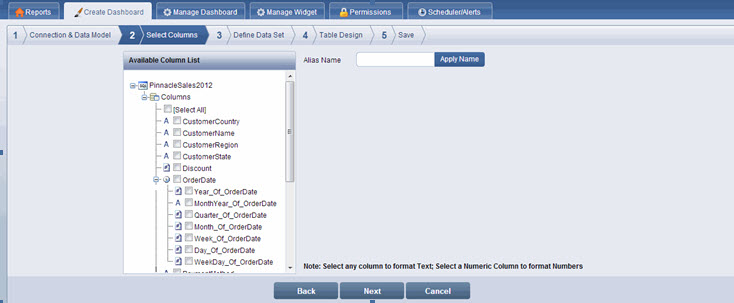
In the Available Column List section, select the check box corresponding to the columns to be included in the widget design.
![]() Note:
Note:
You can select any number of columns. The ![]() sign next to a column name denotes a numeric column. The
sign next to a column name denotes a numeric column. The ![]() sign denotes text. The
sign denotes text. The ![]() sign indicates a date column.
sign indicates a date column.
Any date column is automatically split into the Year, Month & Year, Quarter, Month, Week, Day, and Weekday sub columns. These columns are available for use in defining data sets and in designing the widget.
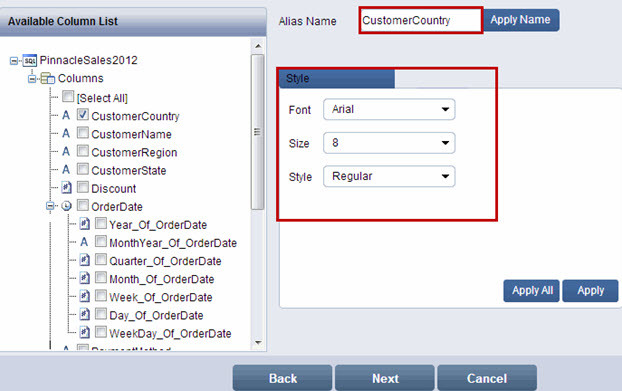
If needed, type an alias name for the selected column in the Alias Name text box and click Apply Name.
![]() Note:
Note:
The need to assign an alias name may arise because the column name defined in the database is not descriptive. An alias name is applied only within the widget where you make the change. It does not reflect in other widgets or in the database.
You can select any column name to format its text style. Selection of numeric columns allows formatting of numbers.
To format a Column:
Select the column name that you want to format. The Style section appears.
Specify the font, size, and style in the Font, Size, and Style text boxes respectively.
Click Apply. A message box confirming that the changes have been saved successfully is displayed. You can apply the format to all columns by clicking Apply All.
Click Next. The Define Data Set (s) page is displayed.
![]() Note:
Note:
Click Back to go to the Select Columns page. Click Cancel to exit creation of widget
![]()